One of our most frequent projects for clients is website building. Our building and hosting platform of choice is Squarespace because it is super efficient and, of course, the templates are gorgeous. The only downside of having such superior design is that it is a lot more rigid in comparison to Expression Engine or WordPress.
Recently, a client asked for a custom font on their new website, which isn’t an option within the Squarespace design. Luckily our Squarespace smarty-pants Will found a hack! And it’s surprisingly straight forward.
Check it out… and happy website building!
Step #1: Locate your font and make sure it’s formatted.
In order for your custom font to be displayed, it needs to be in the right formats. Many fonts you can download online already come as webfont (three separate file types that define and format font for web usage) but most are only .tff files.
You need three separate font files in these formats: .tff, .eot, and .woff.
If you only have one of those file types, you can use a Webfont Generator which will convert your single file into the three types you need. Just download the files and put them into a folder.
Step #2: Upload the font files to Squarespace.
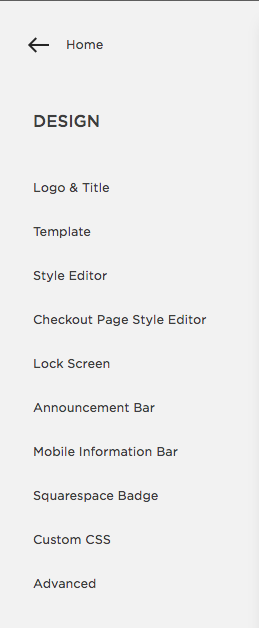
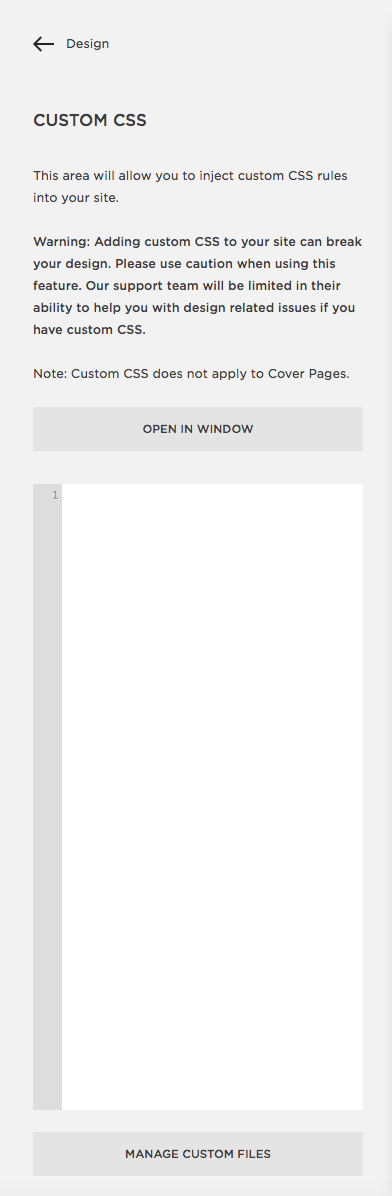
In Squarespace, go to the page you want to modify. Click through Design > Custom CSS.
At the bottom of the code injection window, there is a button that reads “Manage Custom Files”. Click that button and upload the 3 font files.

Step #3: Inject Code
Copy the following code and paste it into the code injection window.
Make sure to replace FONTNAME with the name of the font as it is labeled. Leave the quotes.
Remove FONTURL and replace it by clicking on the filetype in the Manage Custom Files window. Make sure you remove the “http:” before each url.
@font-face {
font-family: ‘FONTNAME’;
src: url(‘FONTURL.eot’),
url(‘FONTURL.ttf’),
url(‘FONTURL.woff’);
font-weight: 400;
}
The next part is tricky as the name for different parts of the website vary from template to template. The code below should replace all the text font across the entire website.
The first part of code changes the navigation and page content text to your font. The second part changes the tag line under the site header.
#header * {
font-family: ‘FONTNAME’;
font-weight: 400
}
#header .site-tagline {
font-family: ‘FONTNAME’;
font-weight: 400;
}
You can also change specific header fonts by replacing the asterisk* with “h1” for heading 1 and so on. As I mentioned before, names for different parts of the website vary based on the template. So, if any of the code above fails to change anything, you might have to look up the correct names on Squarespace’s support site.
After you’ve put the code in correctly, your custom font should now be displayed across the site.